
If you read this blog, you know I have a problem. It really should have a fancy name other than “I can make that.”
You see, whenever I see certain crafty items, jewelry or apparel, I’m all like “I can make that.” This is especially true during Halloween.
This year I decided to DIY a mermaid costume for my daughter. After gathering the necessary supplies, this was SO EASY. Here is how I did it.
1. Buy Fabric - I bought stretchy fleece and a sequin fabric to use as an overlay. I thought about cutting out scales, but this route was way easier. The fleece was to provide a little warmth in the event of a cold Halloween. I'm sure you could make the tail even longer - like a stroller blanket!
2. Order Bodysuit - Thanks to Leotard Boutique for selling a nude, toddler leotard! They have other amazing options if you are DIYing a costume!
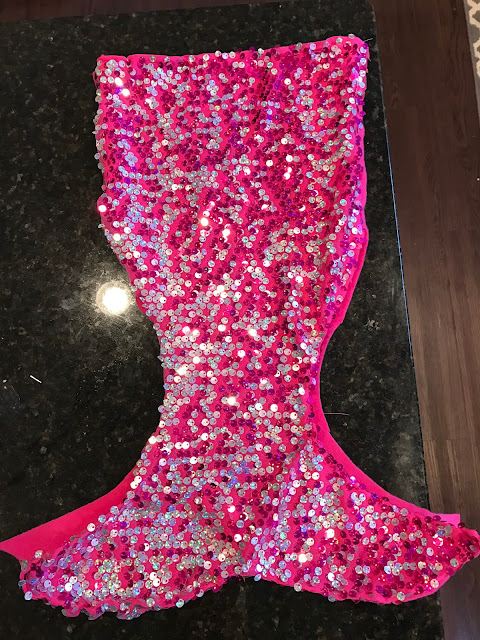
3. Make Mermaid Tail - So true confession here - I work at an advertising agency so I had a designer sketch the tail based off of a pair of my daughter’s pants. I then cut out two pieces of fleece and one piece of sequin overlay. I sewed the fleece together at the top and then added the sequins, but a more talented sewer could probably do this in one step.
4. Shell Bra (The Sea Cups!) - Originally I painted two clam shells and hot glued pins to the back, but baby girl was trying to rip them off, SO the night before her Halloween Parade, I went a different route. I’m a huge fan of Circut paper and thankfully I had some in pink at home. I found a shell pattern online, traced it, cut two shells and ironed them onto the leotard. I’m sure I could have burned the leotard, but was a risk and worked!

5. Headband - I had nothing when it came to a hair accessory (i.e. ran out of time). THANK GOD I had this star headband already in our collection. I'm sure you could do better!


Post a Comment