
For years now, I’ve been seeing tissue paper tassels on
blogs. I thought to myself – “Cute! Those are so easy to make.”

Then, I saw people selling them.
Let’s have a little intervention here. Don’t buy them!
Unless you need an absurd amount, they are SO EASY to make.
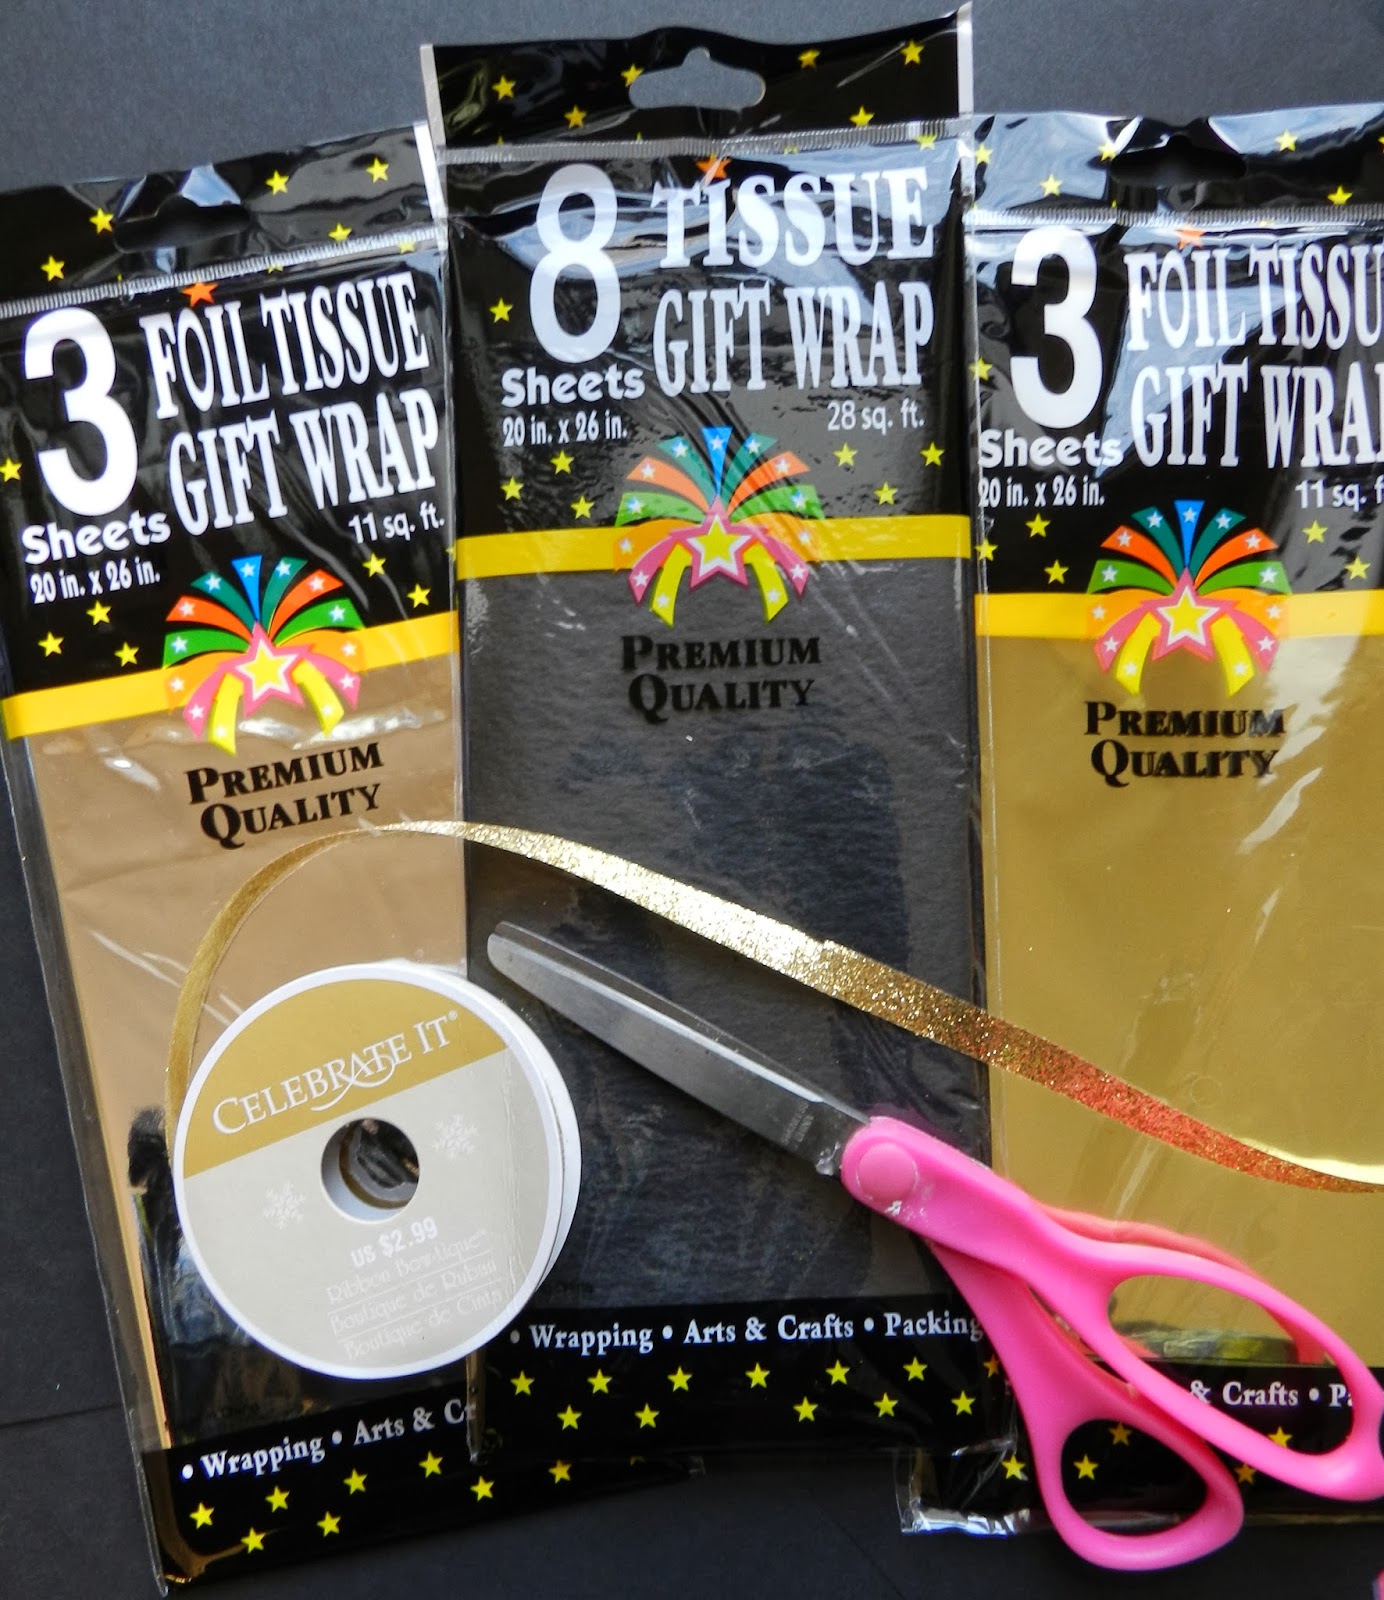
I bought a few supplies during my major craft weekend
just to show you all how easy these are to pull off. I also referenced this
tutorial from TomKat
Studio – just to make sure I wasn’t missing anything.
Step 1 –
Buy Supplies. For my small
illustration, I just bought a few pieces of tissue. I used 1 sheet for each
tassel. JUST ONE SHEET! This is all that it takes!
Step 2 –
Fold & Cut! Fold the paper in half and cut lines about an inch away
from the fold.

Step 3 –
Open & Twist/Roll! Open the folded metallic and roll down the middle
like so. Warning – the metallic is rather fragile and rips easily! (sorry this photo sucks. The metallic is hard to photography with my poopy camera!).

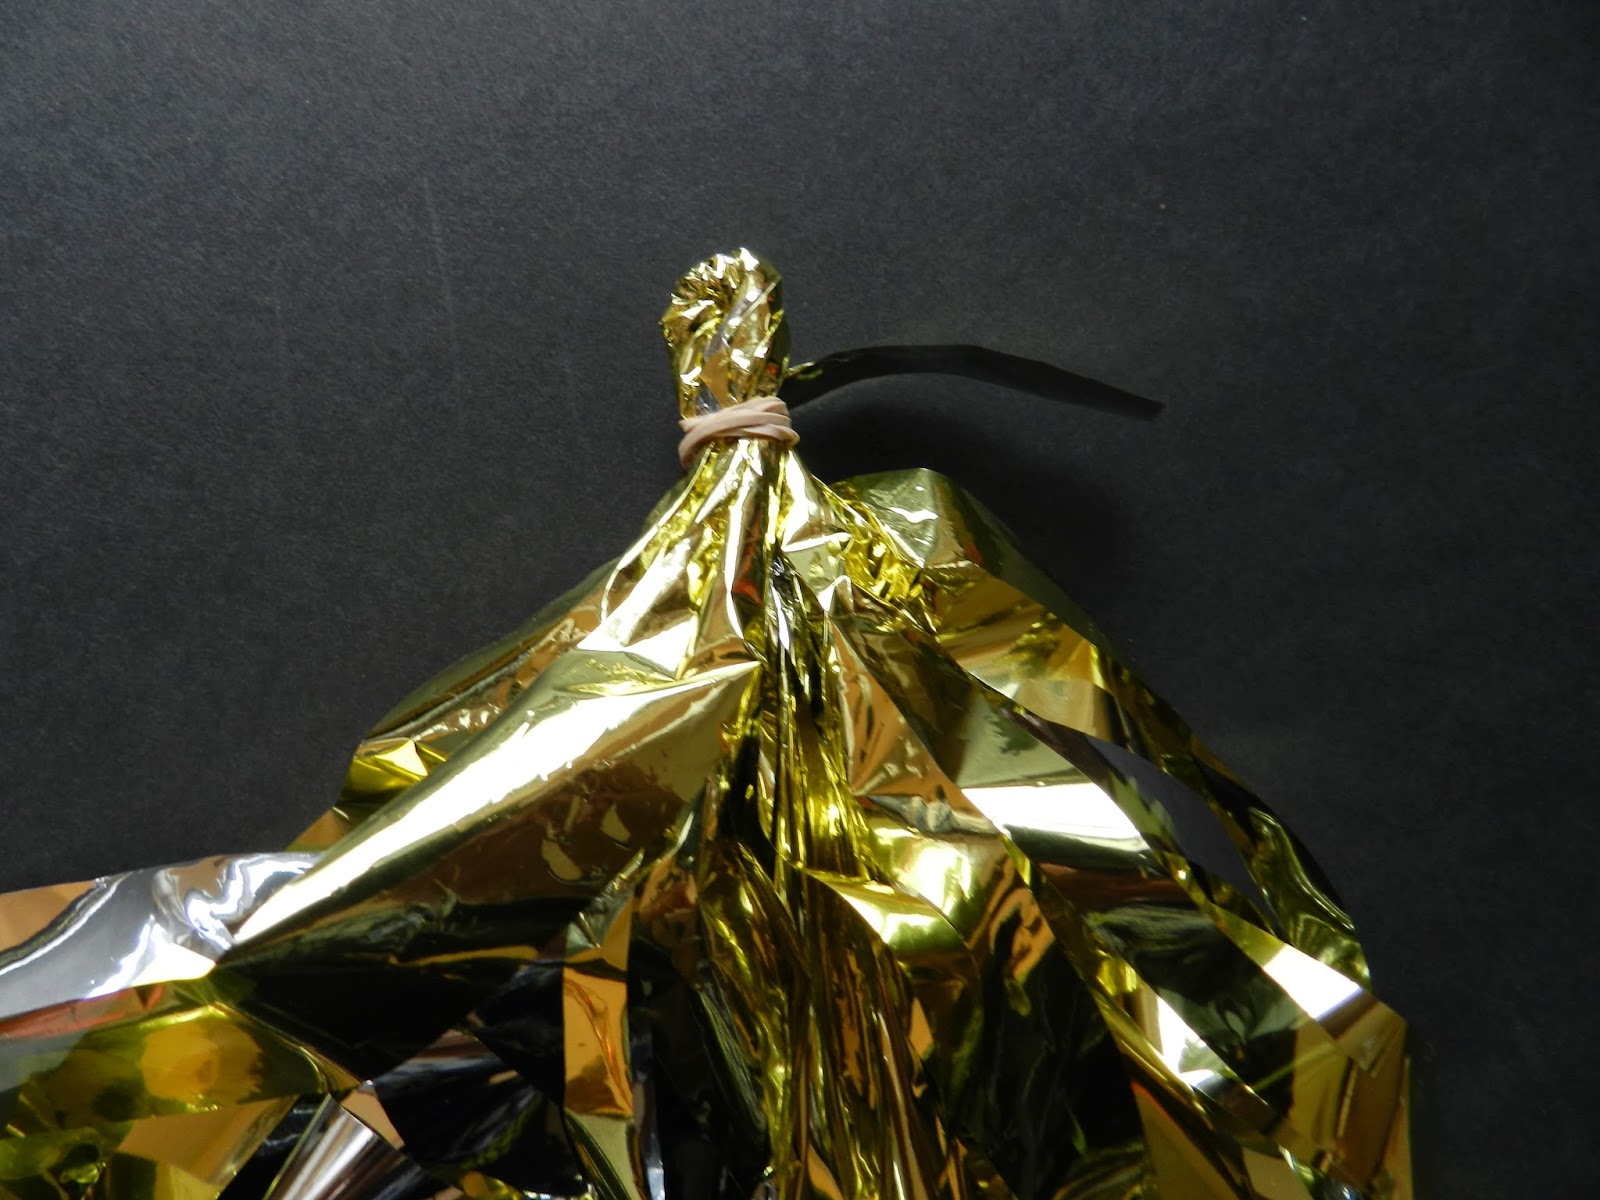
Step 4 –
Make a loop. Once you’ve hit the end, twist and make a loop like so. My
paper wasn’t holding itself in loop form, so I used a rubber band and then hit
it with some metallic. Think like you are using your hair to cover up a pony
tail holder lol.
Repeat!
Step 5 –
String ribbon through the holes.

Step 6 –
Hang!
I only made 4 to
illustrate how easy this was. It took about 15 minutes.
If I were to do this for real, I would consider investing
in some longer tissue paper. I have 10 sheets of tissue paper left and spent $5
on the paper (I had the ribbon at home, but I think that was $1 too).
So before you buy these online, consider making them!
Post a Comment