
I mentioned earlier that the hubs and I moved into a new
pad. One of my FAVORITE spots in this place is my crafting nook! You see, our
attic bedroom has this little space in between the two closets with a little
window. I’m working on crafting a number of items before I’ll reveal my nook,
but today I wanted to share one of my craft projects – a real life pin board to
pin my future projects!
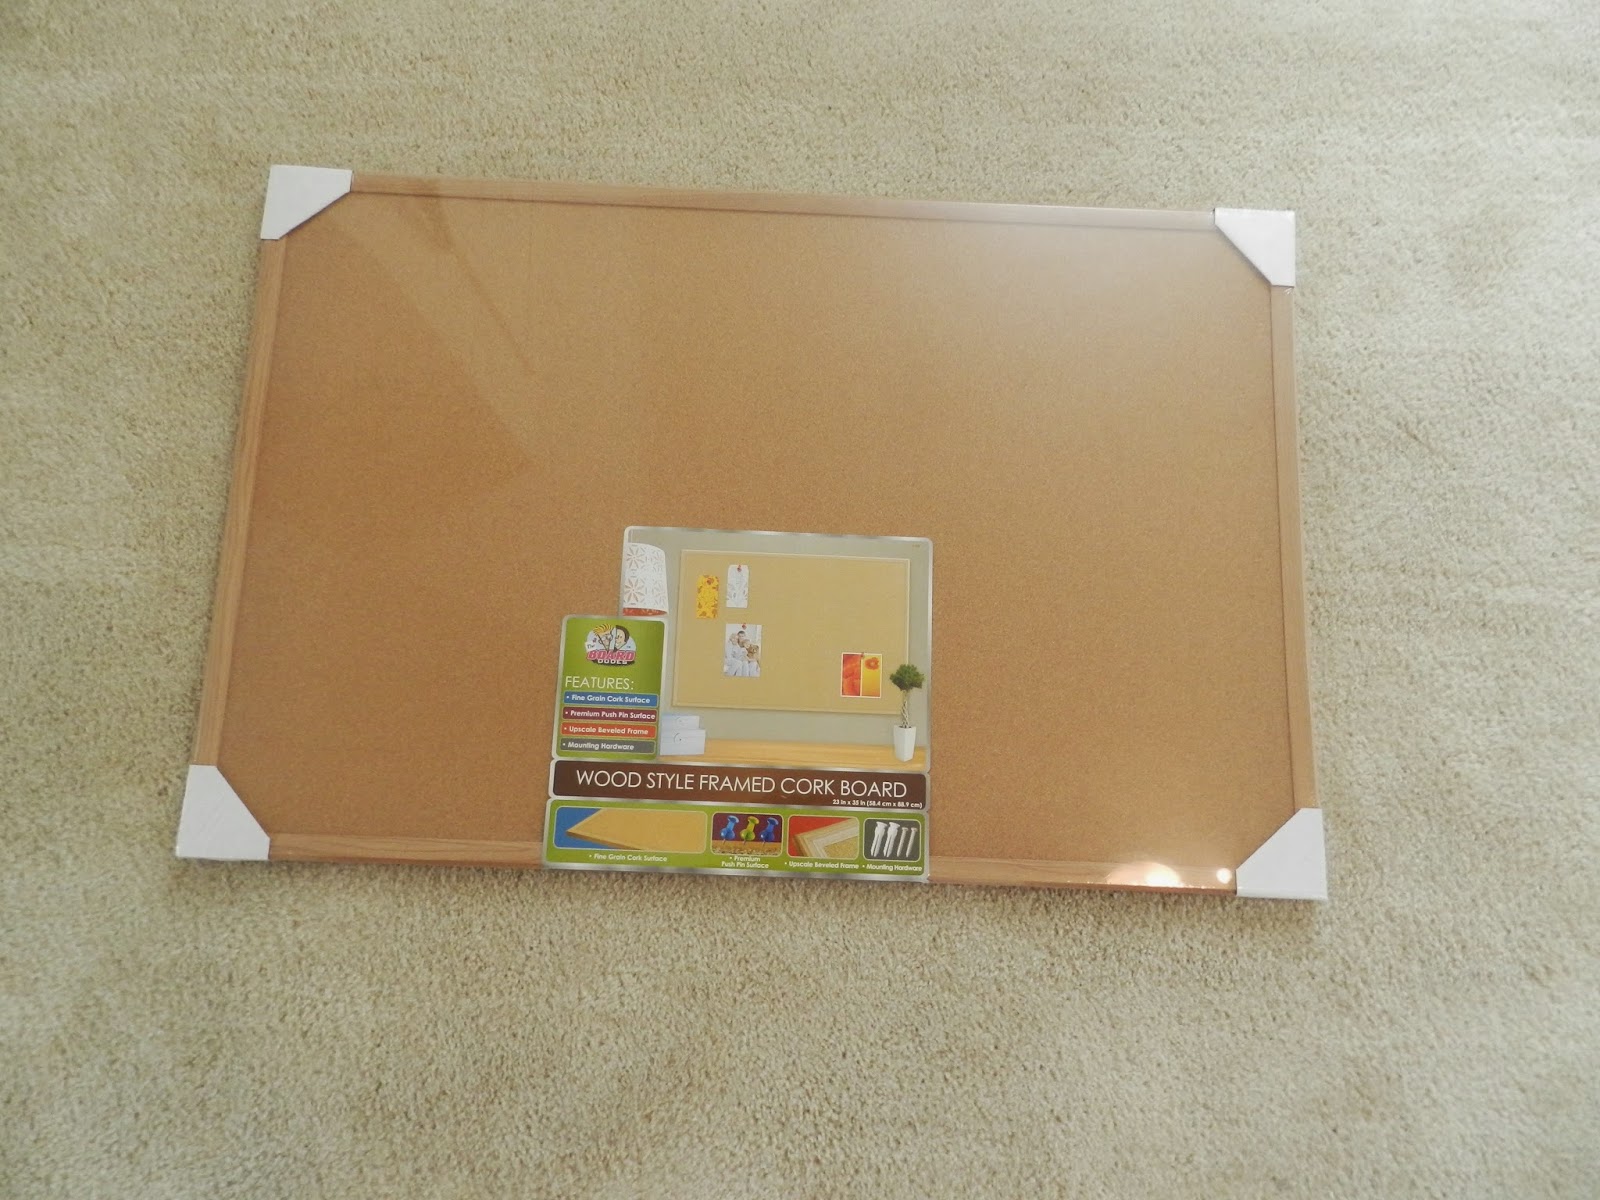
I purchased a $9.99 cork board from Target with the plan
to DIY it into something a bit more fancy.
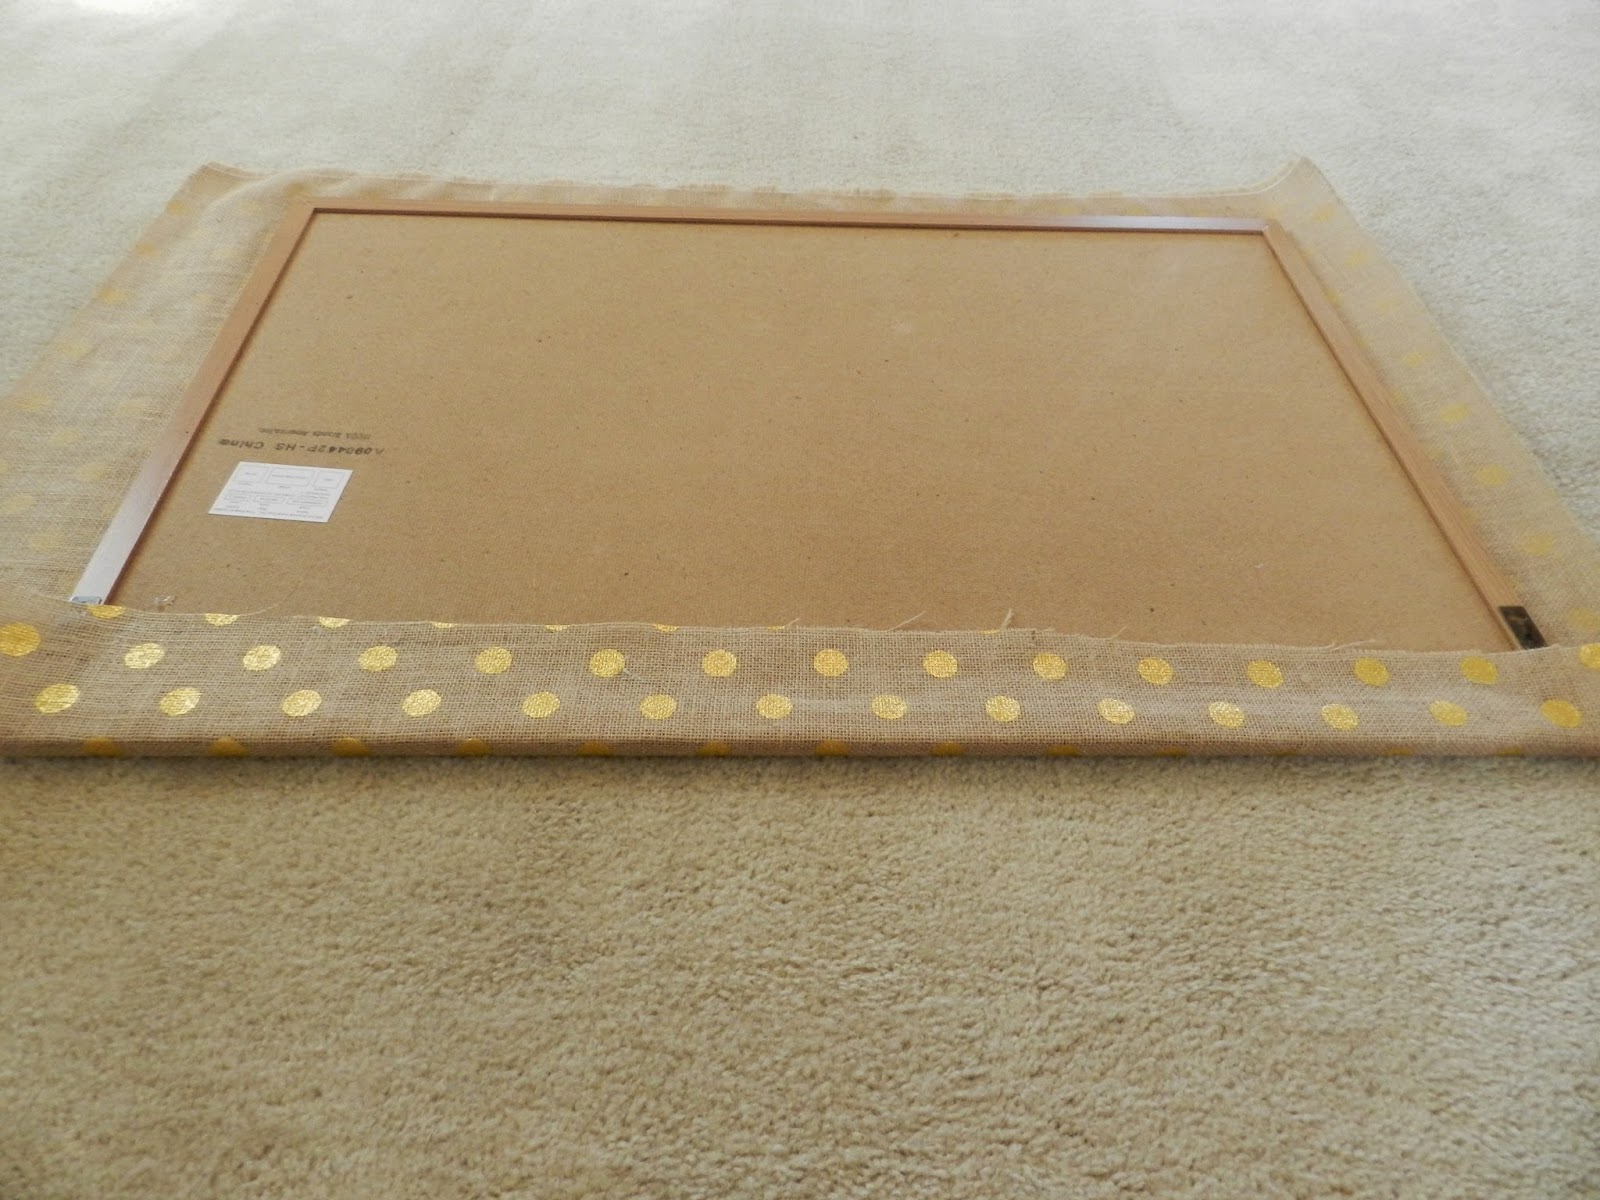
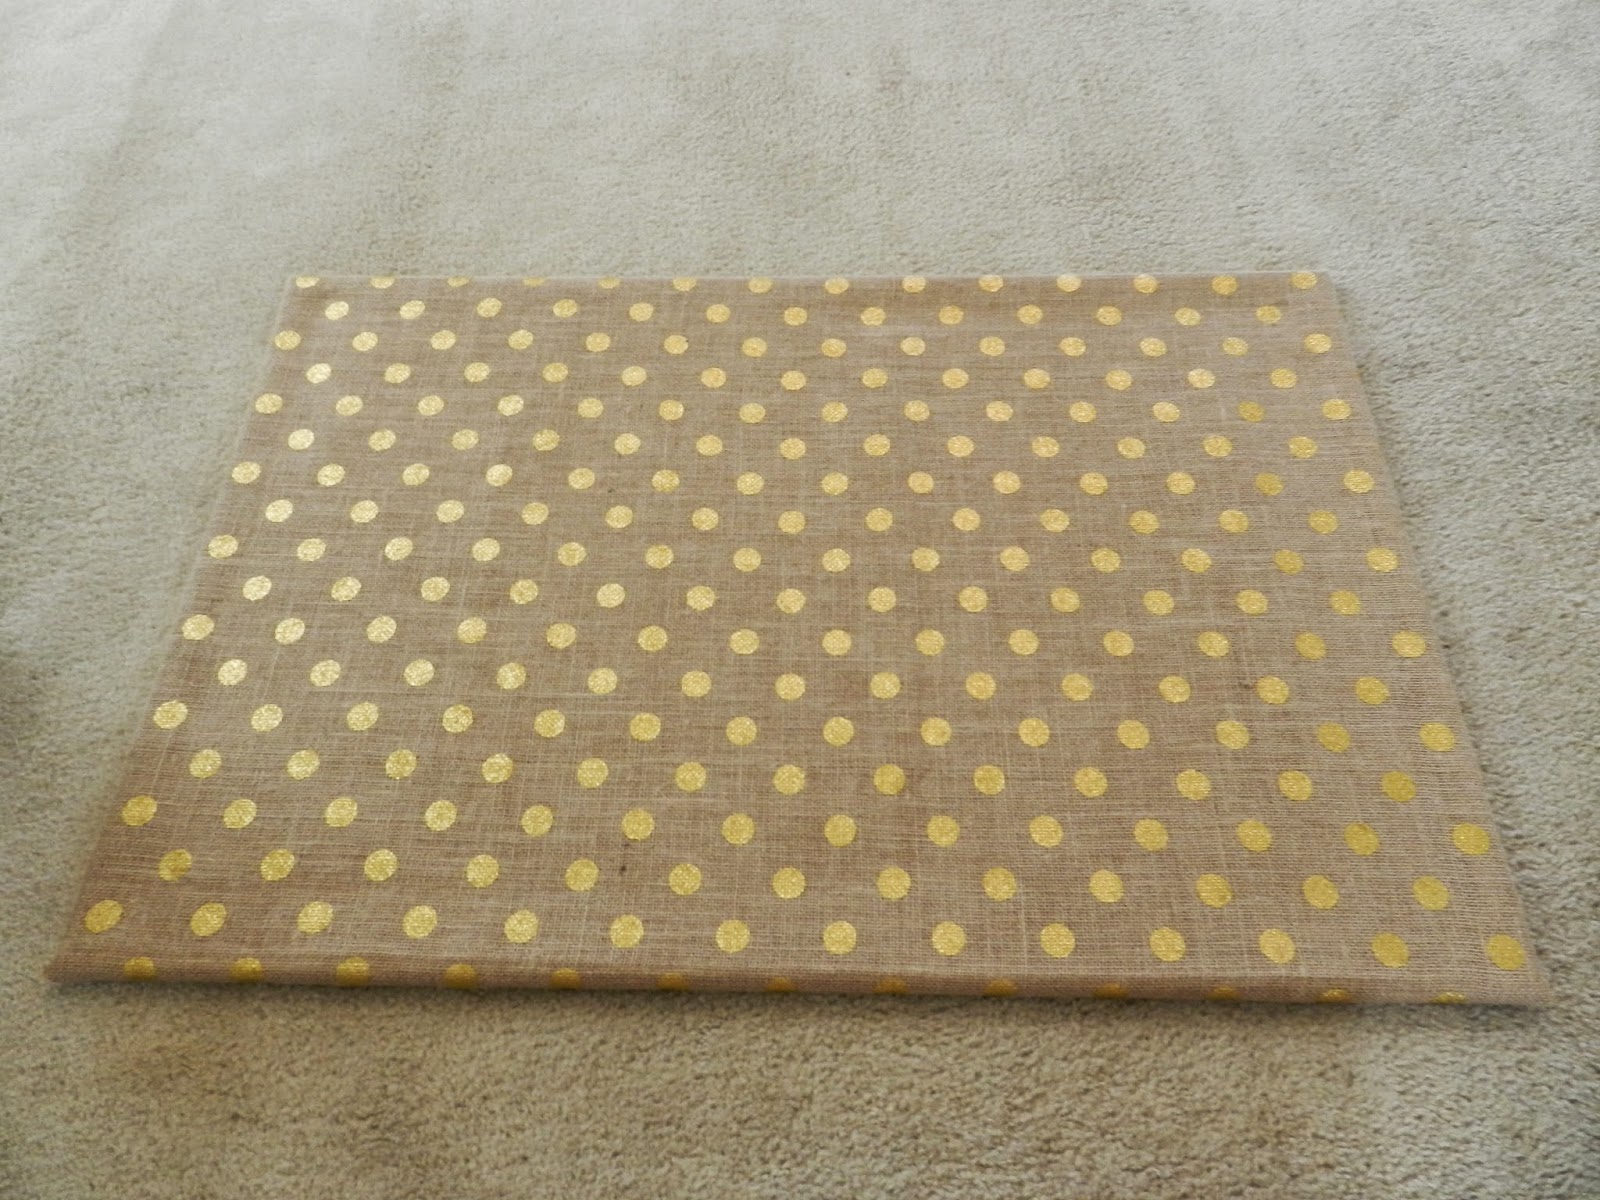
This is SO simple. I covered the pin board with a fabric - I chose a metallic dot burlap so that the future pins wouldn't be so noticeable. You could also totally buy regular burlap and add metallic paint dots, but I wasn't messing with placing those dots on in a row!
My solution for keeping the fabric in place was my solution for everything...GLUE GUN.

Then, I placed gold thumb tacks the about two inches away from each other to create a studded boarder.
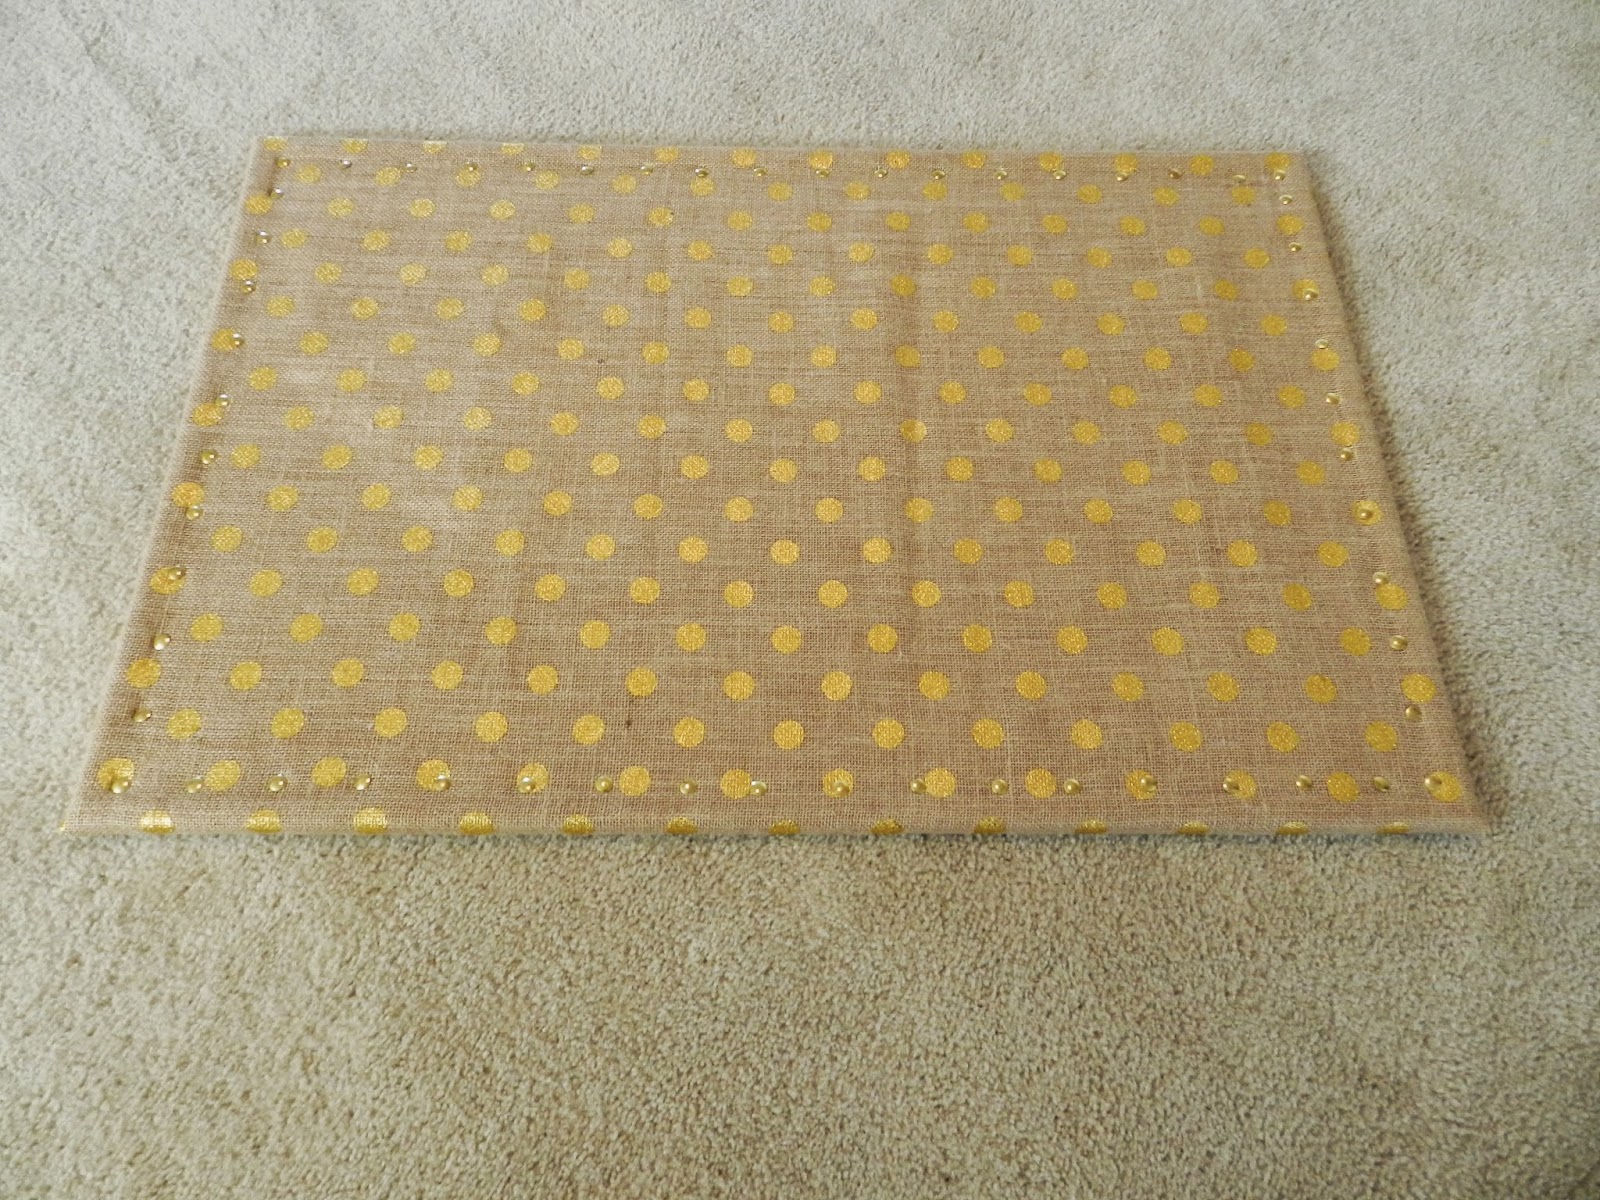
Ta da!SO EASY, right!?

After researching some DIY tricks on the internets, I decided
upon a fabric board with stud/pin trim.
This DIY was SUPER easy and cost about $25 total – and I have
200+ extra thumb tacks and some fabric.
Stay tuned for more craft nook DIYs!
Post a Comment